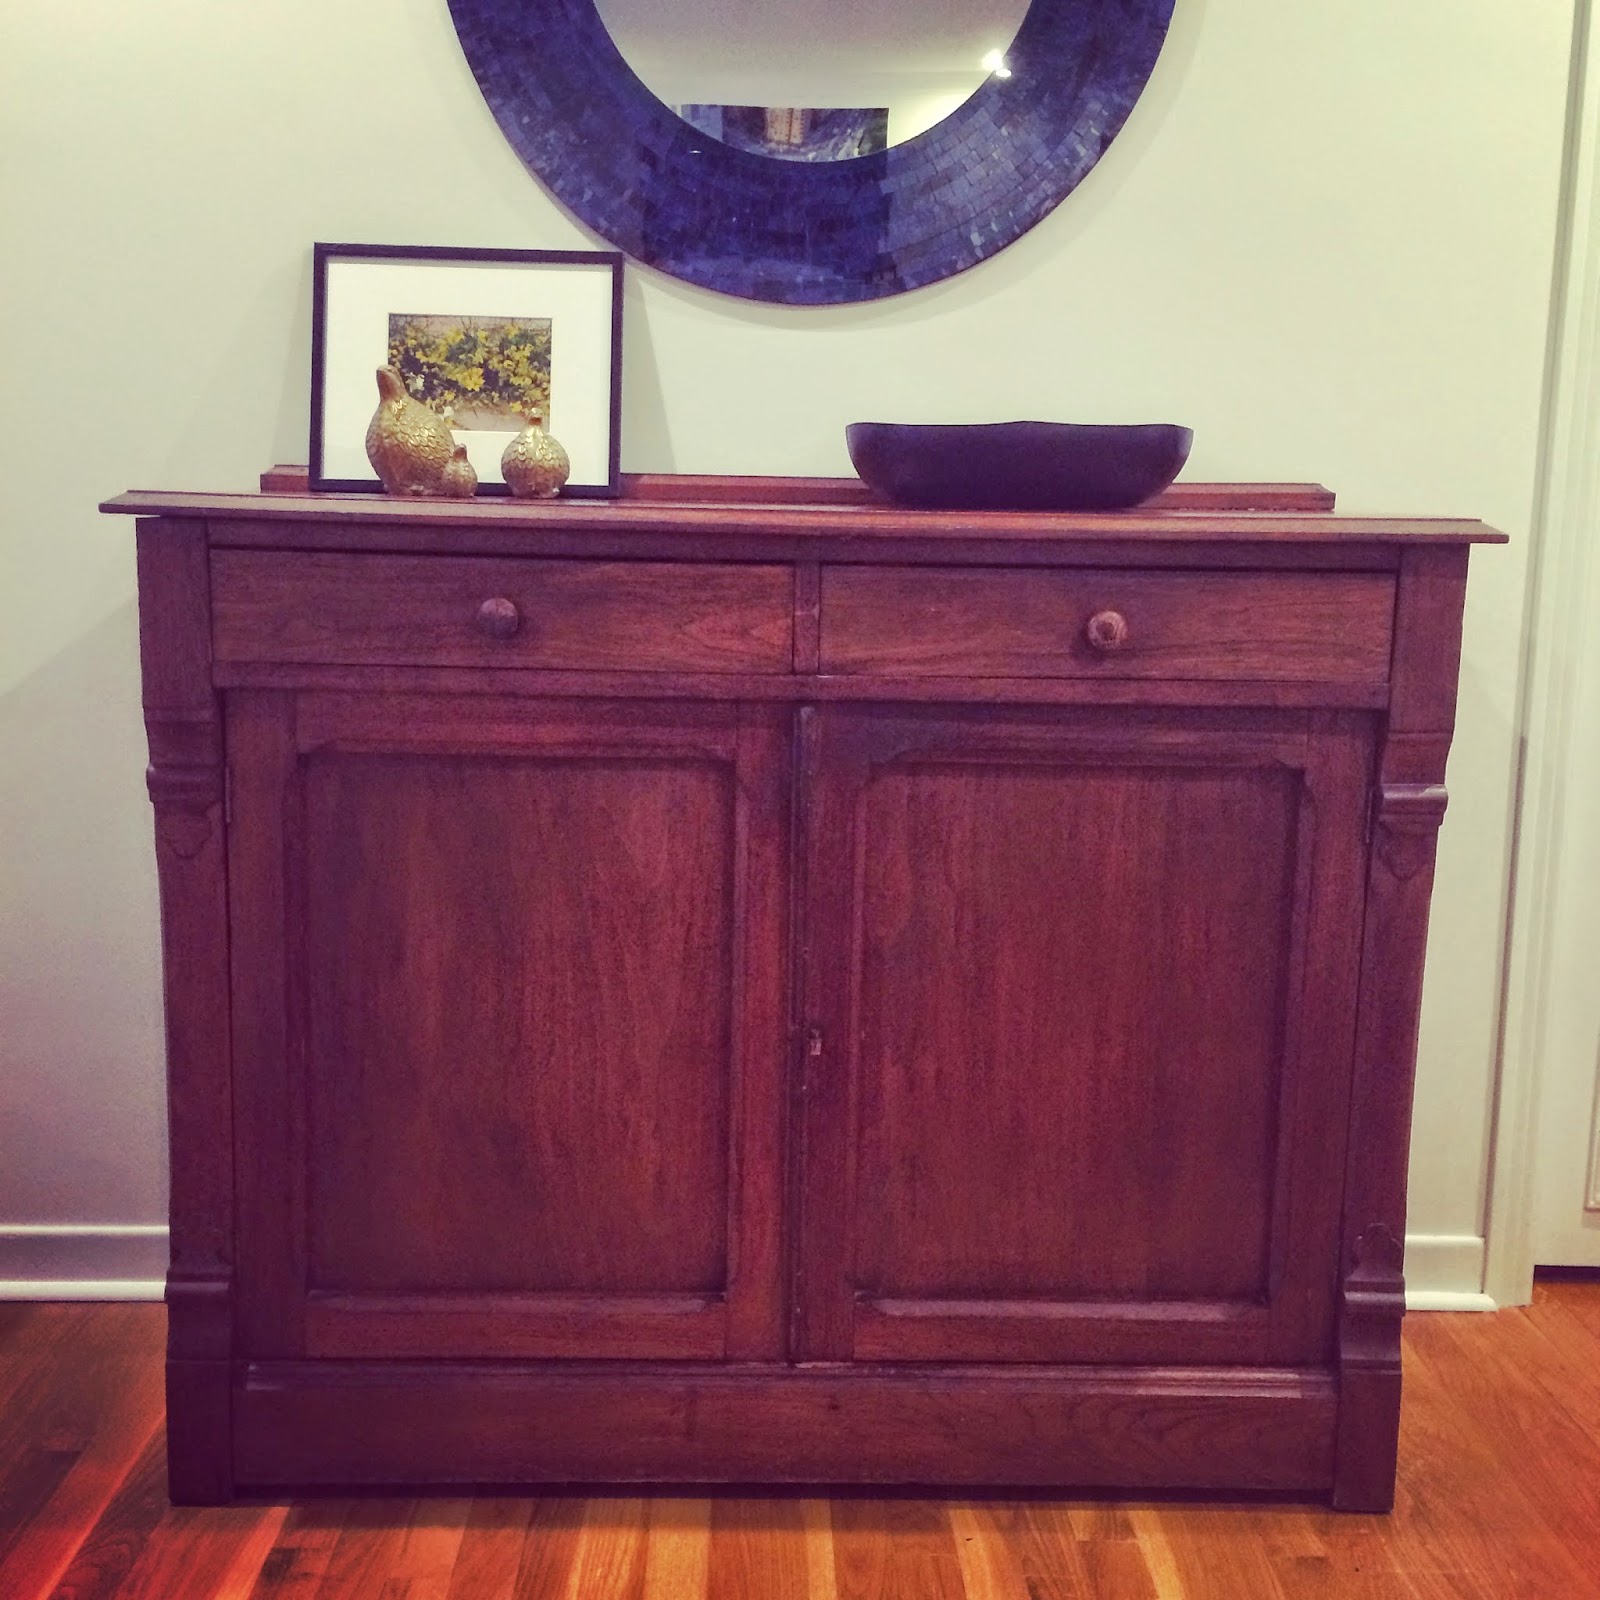
Dresser Disaster
For the last decade or so, my parents have had this amazing dresser in their upstairs bathroom. It was blocking a window and the drawers were just collecting junk, so when the time came to reno their bathroom, they sent it my way. It's a very well made piece, but had seen better days. The top was cracked, the finish was peeling, knobs were either broken or missing... generally, it looked pretty sad.
The first thing to go was that piece of scroll-y (yeah, that's a word) trim on the bottom. I just knocked it out with a hammer and replaced it with a cut-to-size piece of solid wood from the scrap pile.
It's so amazing the difference even a light sanding makes! Night and day! This dresser is eventually going to become part of a built-in closet (that project will follow in a few weeks), which helped me decide on a colour scheme. I wanted the beautiful wood drawers to stand out, so I stained them using Minwax's Red Mahogany stain. I applied the stain in the direction of the grain, using a soft cloth; after letting it soak in for about 15 minutes, I gently wiped the excess off with a new cloth, and let the drawers dry overnight. Then, I sealed them with four thin coats of a water-based polyurethane. I then painted the body of the dresser white (I used CIL's Romance, in semi-gloss), which is the same colour the rest of the closet components will eventually be. All it needed were "new" knobs, which I found in my dad's impressive collection of hardware odds-and-ends.


Great redesign! Thanks for sharing :)
ReplyDelete