Closet Catastrophe.
A new post... but first, an apology! This summer has been crazy-busy with weddings (mine and so many others), travelling for weddings, family reunions and a whole bunch of other stuff, and sadly my fledgling of a blog has been neglected. But I'm back now with lots of great projects on the horizon... so stay tuned!
* * * * * * * * * * * * * * * * * * * * *
Not too long after my husband and I started dating, the gradual process of living together and merging our stuff began. It started with me being awarded a dresser drawer, and then a bathroom drawer, and then, eventually, some hanging space. Fast-forward a couple of happily-living-together years... and most of my worldly possessions were still taking up residence at my parents' house. Sensing I was growing tired of living a semi-nomadic lifestyle (which was especially tiresome on date nights when all my fancy shoes were a neighborhood away), my then-fiance suggested I take over the generous closet in our office. Amazing!
I lived with it the way it was for several months, all the while plotting a DIY upgrade. Three months ago, the stars were aligned - my dad (the brain, brawn and resident DIY expert behind many of my projects), fiance and I were all free - and it was time to build!
Here's the before:
We pulled out the one wire shelf and patched the holes it left behind. Then it was off to purchase closet-building supplies! As luck would have it, Home Depot was having a sale on pine boards - at 16 inches wide and 72 inches long, they were exactly right. And we only needed four to make our plan a reality. The two vertical supports below were made of the full-sized boards, and the long shelf across the top, at 68 inches long, only required trimming several inches off one end. We attached everything together with wood glue and screws, and it was already surprisingly stable... and starting to look like a closet!
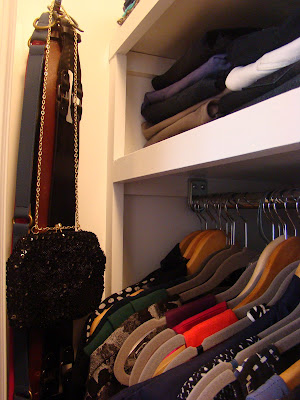
We added several more shelves, and then to help carry the load, used cut-to-fit pieces of one-by-two stock as brackets. We secured these into the walls using drywall anchors and screws, and then screwed the shelves to the brackets. Then, we framed the entire built-in with one-by-twos (for a little extra strength, and to make things look more solid). After countersinking all the nail holes and filling them, the whole closet got a light sanding, a coat of primer, and two coats of bright, white paint (Benjamin Moore's Decorator's White in high gloss)...
... and here's what it looks like now!!
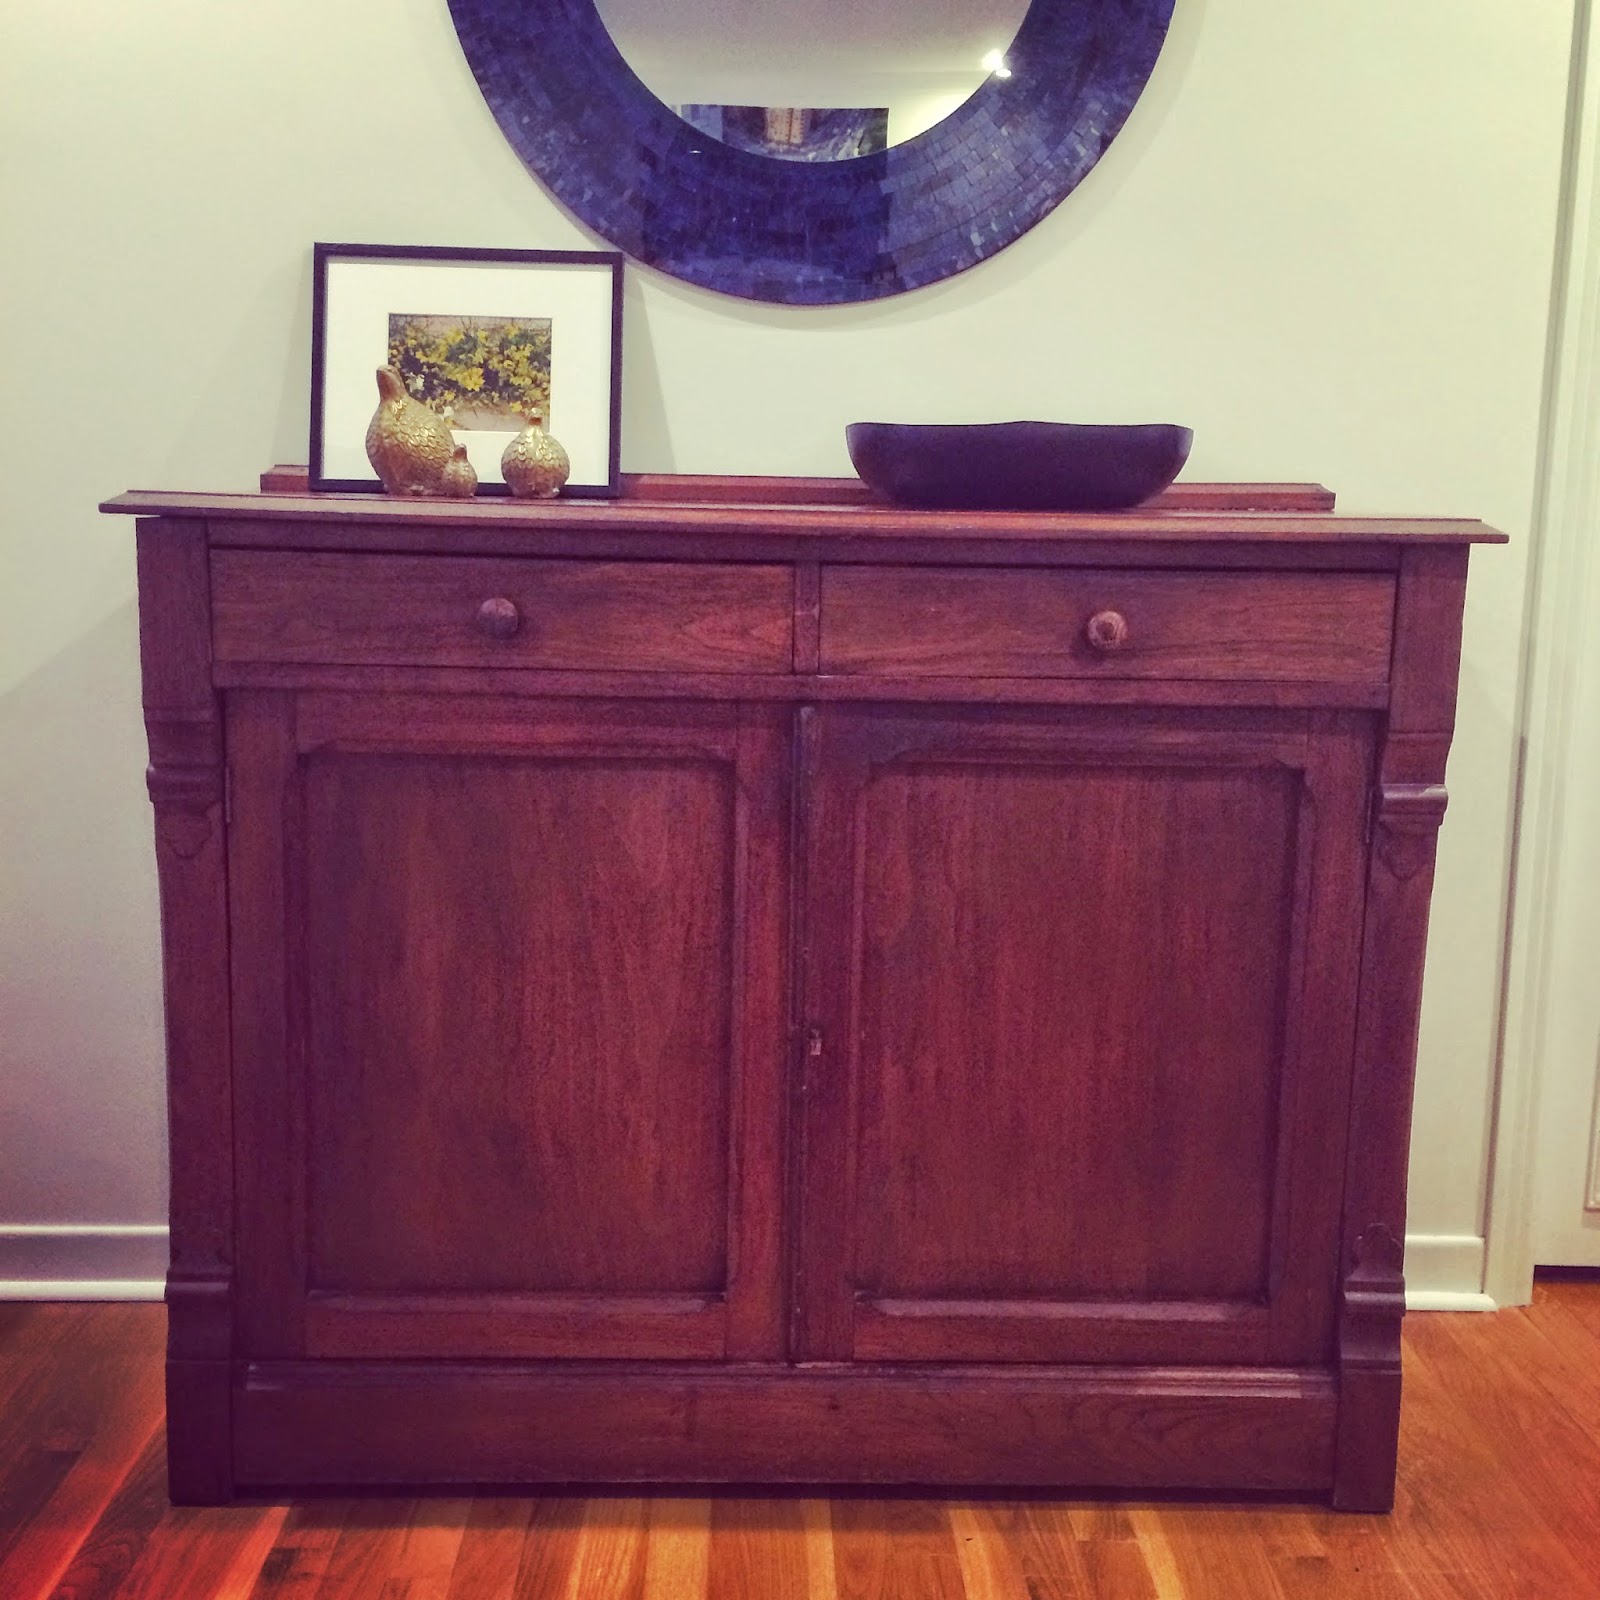
While it came at the expense of extra storage room, I opted to keep the area above the dresser open to create the impression of a dressing room. I like that the open space makes things feel less cluttered and also gives room for display on hooks and in decorative bowls (I love jewelry, but tend to forget I have things if they're all hidden away). And the mirror is a real treasure - it's been in the family for almost a hundred years! Recognize the dresser? It's the one from this post - it was rescued from my parents' house and refinished with this closet in mind. Not only was it recycling, but it was also a creative and very inexpensive way to incorporate closed storage (in the form of drawers) into the closet. The built-in sections are fitted around the dresser, but they aren't attached in any way, so it can still revert back to a free-standing piece of furniture at some point.
( the dresser that started it all )

( an up-close view of our brackets ) ( room for shoes... well, some of them anyway! )
( amazing... it might be love )


What a great use of space! I love it.
ReplyDeleteLove the re-do! Great use of space and a functional piece that needed both TLC and a vision. Others may have bigger closets with standard shelving units, but you have created the most elegant custom closet in metro! Congrats on a beautiful project well executed.
ReplyDelete